Build & Master Your Wdeck.
Learn how to assemble the hardware and explore every feature of the Wdeck Studio application across two comprehensive step-by-step journeys.
WORK IN PROGRESS
This tutorial is not completely finished yet! I will be working on the details and the full guide in the coming days.
DO NOT follow this tutorial yet.
Bill of Materials
Everything you need on your desk before starting the build.
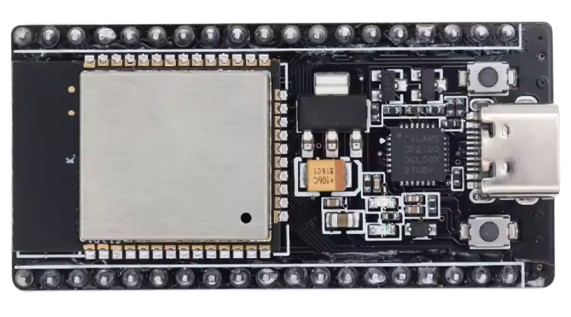
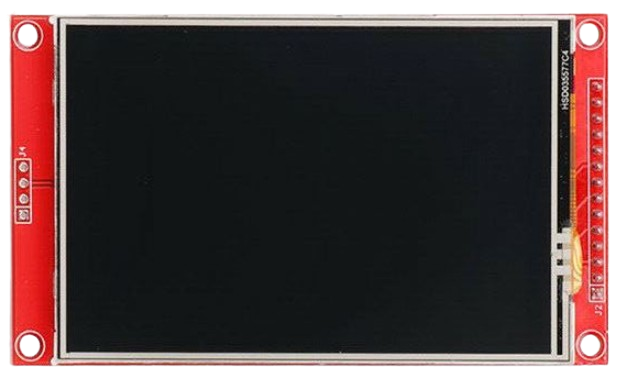
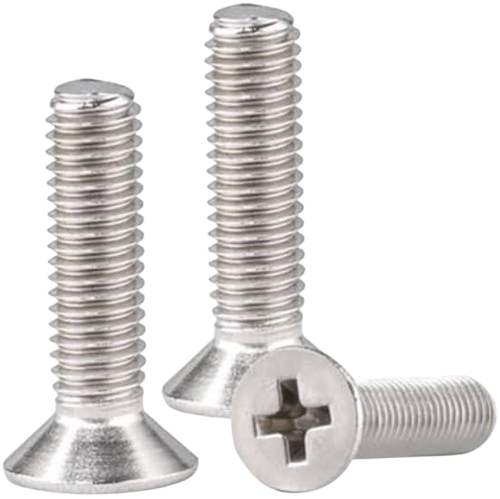
M3 Hardware
5x M3x14mm Countersunk
Fasteners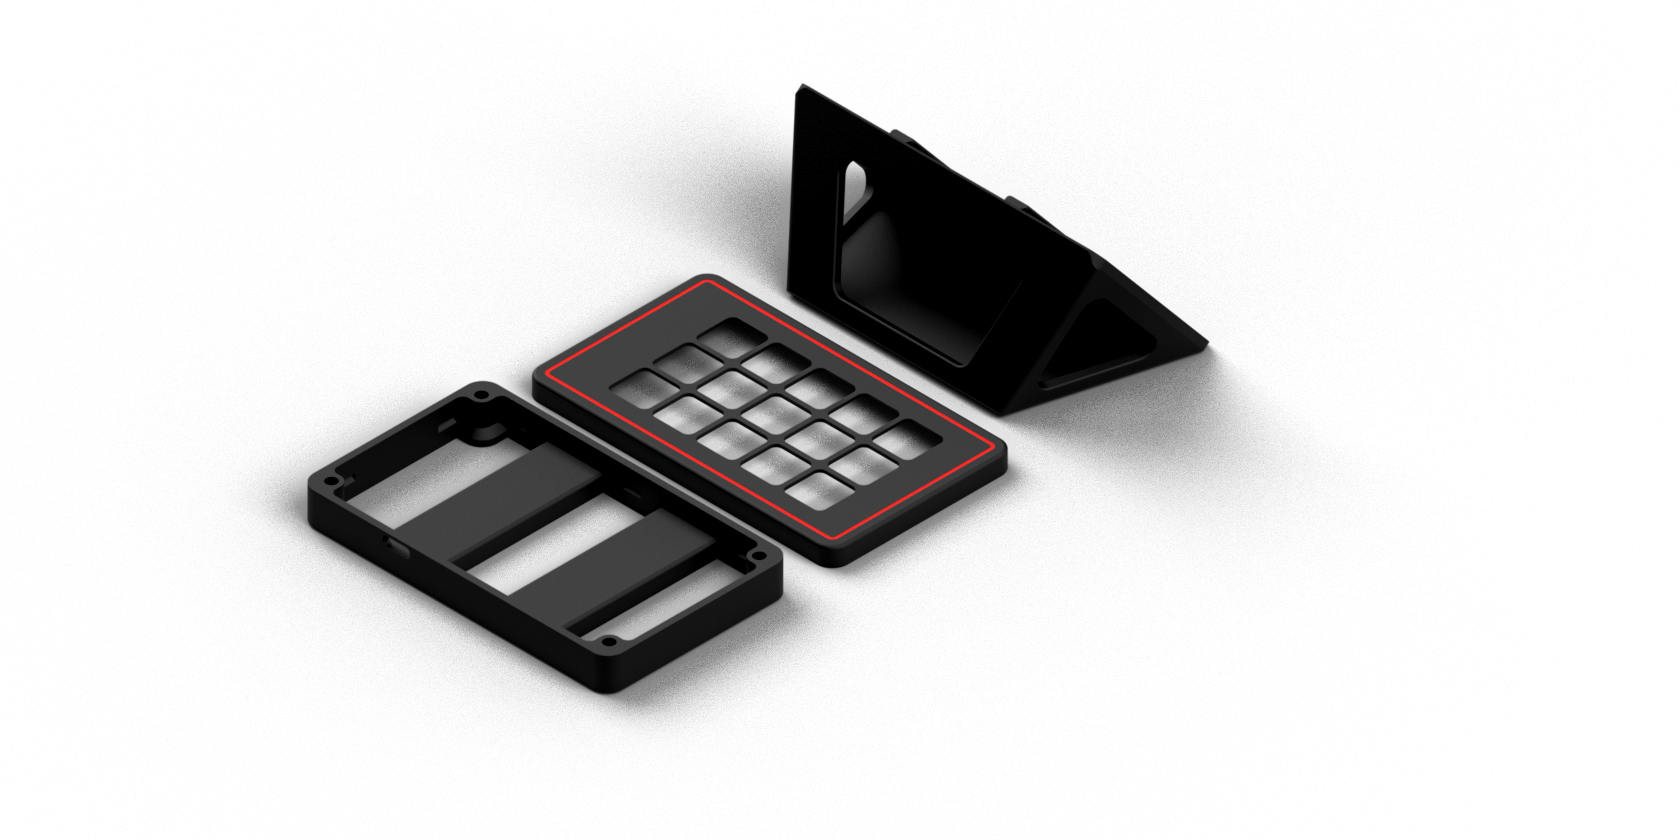
Tools & Workspace
Prepare your workbench with these essential tools for a smooth assembly.
Soldering Iron
Handheld or Station
320°C Opt.Screwdriver
Manual Phillips Head
Step 09 - 10Connecting Wires
Insulated or Solid Core
Misc. LengthsUSB Data Cable
USB-C or Micro-USB
To PC / HubCase Printing
Quality starts with the base. Print the provided STL files using PETG for superior heat resistance and durability.
- Layer Height: 0.2mm
- Infill: 20% Gyroid
- Supports: Build plate only
Wiring Checklist
Bridge the ESP32 and display. Follow our checklist to ensure every pin is in the right place.

Soldering Pins
Connect header pins to the display and ESP32. Use 320°C to prevent lifting the pads.
Internals
Mount the ESP32 cradle into the back housing. Ensure its orientation matches the USB exit port.
Bezel Mounting
Slide the display into the front bezel. It should click into place securely.
Cable Routing
Tuck the wires away neatly using internal channels to avoid pinching during closure.
Enclosure
Screw the front and back together using 5x M3x14mm screws for the final fit.
Calibration
The first boot will trigger touch calibration. Follow the screen prompts to align the panel.
Studio Installation
Download the latest Wdeck Studio installer for Windows. The application handles all hardware communication.
DOWNLOAD WDECK STUDIOIMPORTANT: Run the installer and the app as Administrator to enable global hotkey support and audio routing.
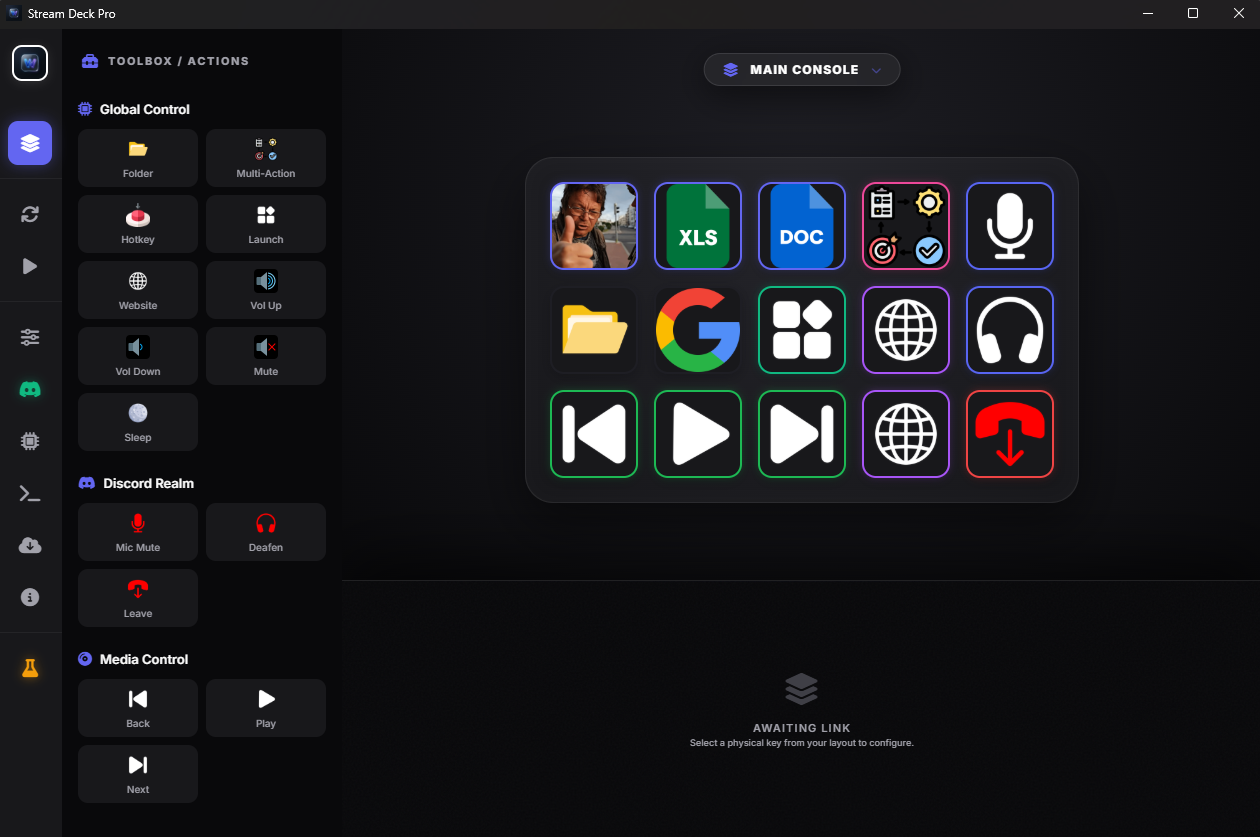
Dynamic Profiles
Wdeck detects your active window and switches layout automatically for smooth workflow.
Grid Composer
Visual grid editor for designing your 15-key layout with drag-and-drop actions.
Macro Engine
Chain keyboard shortcuts and system commands with precise delay timing.
Hardware Sync
Adjust brightness and monitor hardware health directly from the desktop application.
Audio Master
Switch default audio devices or control per-app volume levels with a single touch.
API Hooks
Native integrations for Spotify and professional Chat Apps to control media and voice status.
Updates
Flash the latest firmware safely without ever leaving the Wdeck Studio app.
You're Ready to Roll.
Your Wdeck is assembled and your Studio is configured. Now it's time to bridge your hardware with infinite automation.